
In order to get the best out of a photoshoot, often it is important to have a good idea of the direction in which you want to go. The make up, wardrobe, background, props, lighting, location, and even the choice of model can all be influenced by this idea. For many photographers, it is important to record this vision in a collection of images and inspirations known as a mood board.
The mood board is important for several reasons. First of all, it can help you to gather your ideas into something coherent in order to make the shoot flow better. Secondly, you can use it to demonstrate to all of the members of the shoot team exactly what you want from them. And thirdly, if you are working with a brand or for a client, you can show them the mood board before you begin in order to be sure that you are on the same page creatively.
Making a mood board is not difficult at all, though it may be time-consuming. It is advisable to set some time aside to create your board early on in the process of organizing the shoot. This will give you something that you can refer to when making important decisions.
There are many sources where inspiration can come from. Some prefer to make a mood board composed of the kinds of images that they would like to make. Others will look for exact examples: the precise hair and make up looks they would like to create, the colors, and even images of the clothes that will be worn. Another way is to draw inspiration from wider sources: images of landscapes, textures, pieces of fabric, and paintings. Finally, you can even go as abstract as you like, and find things that suit the mood of the shoot rather than influencing the exact look.
But how do you put your mood board together? There are a number of options that you may use, and of course a combination of all of them is always possible. Try out each of these three methods to see what suits you the most, and which can aid your creative process the most effectively.
Method one: Create a Pinterest board
We are quite lucky as photographers at the moment, as there are many resources which are available to us now which were not as few as five or ten years ago. Pinterest is one of the more modern resources which you can turn to your advantage in the creative process. Creating a board here and pinning images to it is a very easy way to put a mood board together.
Your first step is to create the board and give it an appropriate name. Next you will want to look around and try to find some examples of the kinds of images you are thinking of. Start with broader terms and gradually narrow them down, or vice versa. For example, if you want to create an old Hollywood look, you can start with the term “Hollywood glamour”. Later on you can go into specific avenues such as “Audrey Hepburn”. This will yield a great spread of results.
You can also find lots of new ideas this way. For example, let’s say that you discover a photograph of Hepburn that you very much admire, and you can see the name of the photographer on the pin. Next, try searching their name in order to see what other work they may have produced during the era.
Another advantage of the Pinterest board is the opportunity to invite others to collaborate with you. They can add their own ideas – perhaps if you are working with a creative director or a brand manager. This will help the project to grow and evolve.
When you are ready to share the board with others, such as your model or make up artist, all you need to do is to send them the link. On the day of the shoot, all that you need is an internet connection and a screen in order to review your ideas whenever you like.
Method two: Gather images in Photoshop
Making a mood board in Photoshop may give you a new opportunity which is not present with Pinterest: the chance to view all of your ideas at once and next to one another. The mood board can be any size, or indeed shape, that you like; generally speaking, there may not be much need to go beyond an A4 size. This size will allow you to print your mood board easily and without any loss of clarity. It will also be viewed easily on almost any screen.
First, start with a blank canvas. Create something landscape or portrait, depending on your preference. Now start searching around for images that inspire you. You can find these in your own files, as well as simply searching on the internet. When you find something you want to add, you can easily do so by copying and then pasting it into the Photoshop document. You will then be able to scale, resize, and move it as you wish.
The benefit of using Photoshop, rather than a simpler image program such as Paint, is that you can keep everything on separate layers and move them around as you wish. This gives you greater adaptability: images can be moved and resized to make way for others. You can also add accents around the outsides of the images, such as flowers, accessories, or items of clothing, as cut outs.
Once you are happy with the mood board, you can save it as a .JPEG or .PNG and then send it to other members of the team as an attachment. You can also download it onto a phone or tablet if you will not have access to your computer during the shoot.
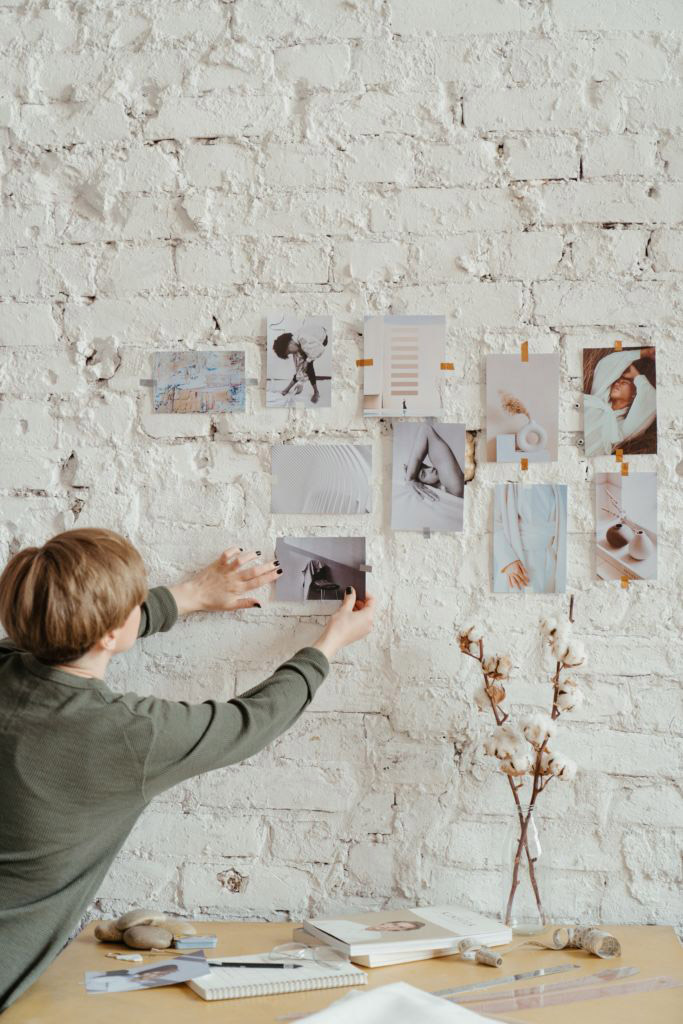
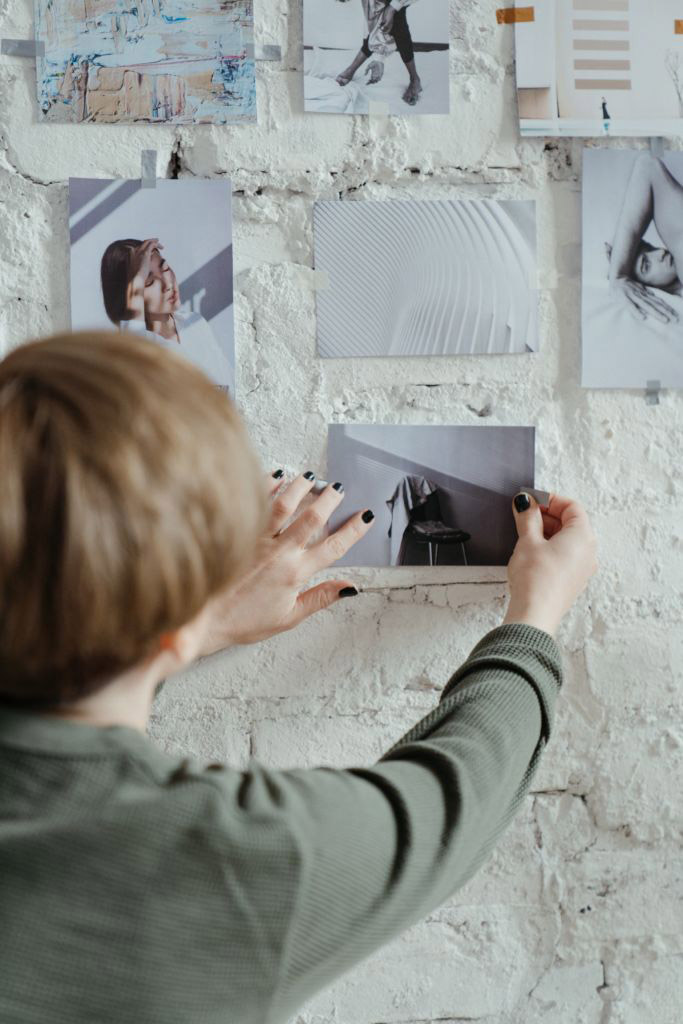
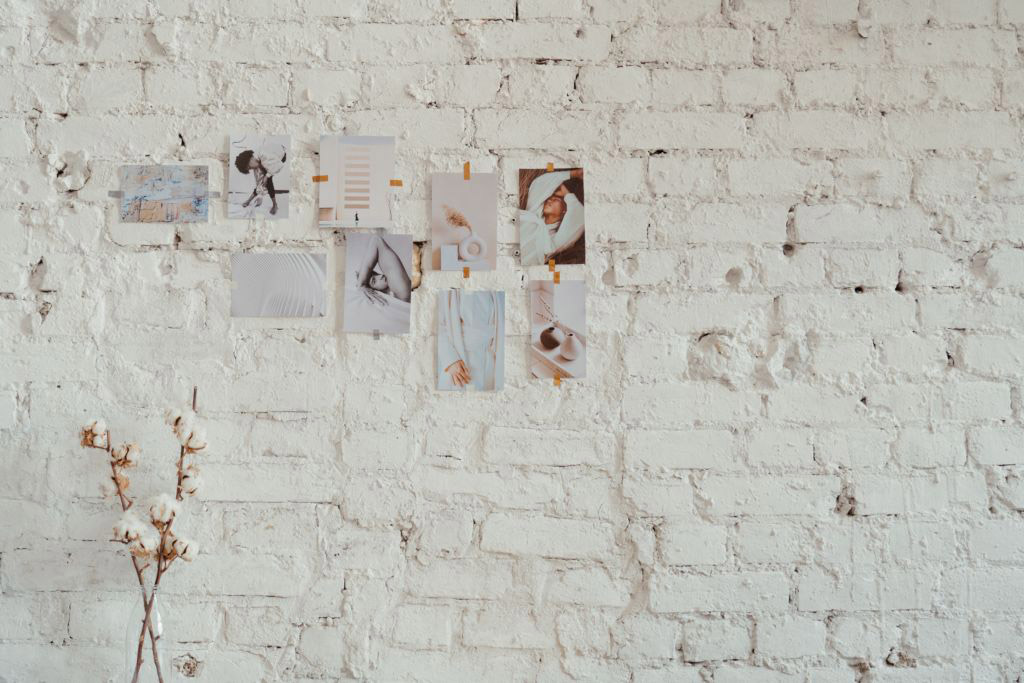
Method three: Create a physical board
This method will suit those who are of a more crafty disposition, as it allows you to really get tactile and use your hands. You need to start with a board as your basis. You could use a corkboard and pin things to it, or a magnetic board which uses magnets to hold your inspiration in place. You could also buy some inexpensive foam board from a craft shop and stick things down with glue. If you want to get even more creative, you could do something like sewing images and patches together. The sky is really the limit in this option!
You can flick through fashion magazines or brochures and cut out figures or images. You can print things out from your computer and stick them on. You can even find patches of material, leafs and flowers, and other “real” elements to add to your board. This option gives you something that feels more alive – a board of inspiration which is ready to give life to your images as soon as you are ready to shoot.
However, sharing it may be more problematic. You can take a photograph of it, or simply invite members of the team to meet you before the shoot and take a look. Once you are ready to shoot, you can have it in the studio or on location with you. This will give you a chance not only to see your inspiration, but also to touch it, smell it, and even listen to it if applicable.
So what is your favorite method of making mood boards? Do you have any examples to share? Let’s hear about them in the comments!