
As photographers, we are often times our own Photoshop editors so we not only have to photograph our images but go on to do our own post processing. This is a part of our jobs that some of us love and some of us feel overwhelmed by or a beautiful blend of both (I’m being sarcastic). Thankfully, here at Summerana, we not only have many great resources to help us edit but a large community to get feedback from and answer those hard questions.
Today, I am going to show you an editing hack that I have found very helpful in editing skin in Photoshop – something that can be very hard and takes photographers a long time to learn how to master. This Photoshop hack is simple and will get you smooth and silky skin very quickly in under 5 minutes. After all, who wants to spend all day editing?
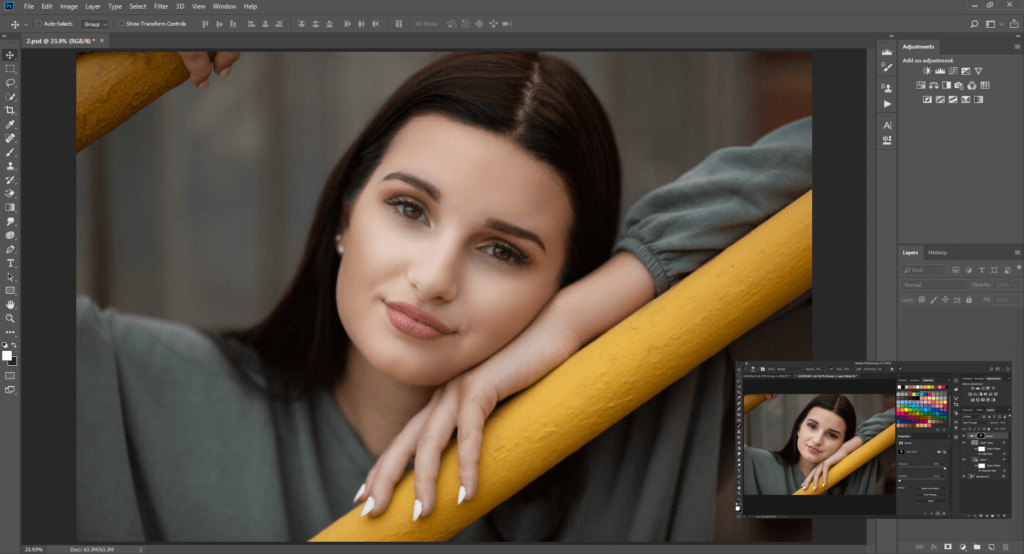
The image that I am going to be working with today is a portrait of a beautiful senior I photographed this Summer. Isn’t she GORGEOUS? Let’s start by going over the basics! I took this RAW image with a Canon Mark III Camera Body, 135 mm 2.0 Lens under overcast weather with a Manual White Balance at 6500 Kelvin.
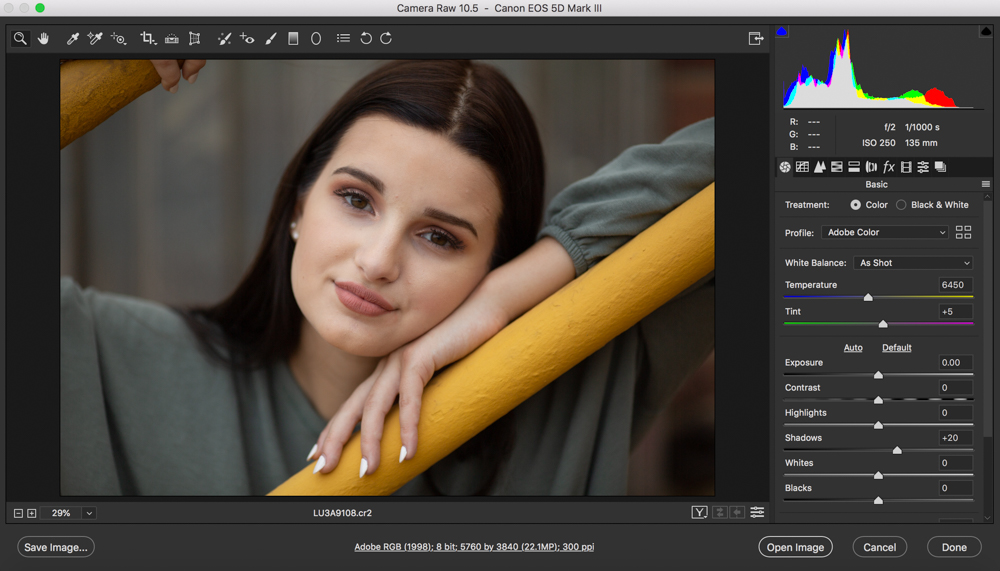
When I open up the RAW image in Camera Raw I see that I was pretty lucky. This image is pretty perfect starting out and the only thing I am going to do is lift up the shadows a tad. I will now proceed to opening up the image in Photoshop.
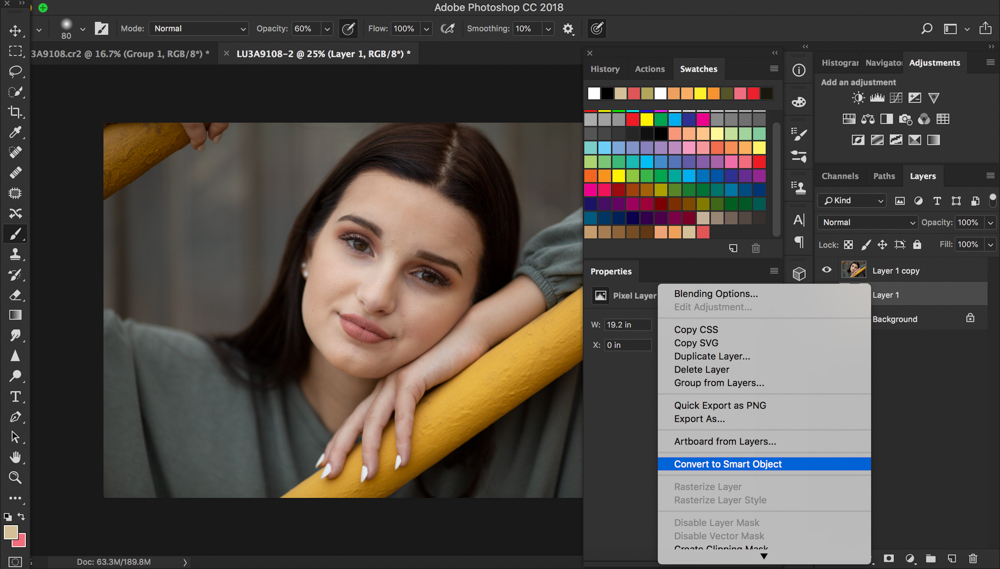
Generally, I would suggest looking over your image and removing any major blemishes before editing the skin but for the sake of this tutorial, we’ll jump right in. To start with this skin hack, I will first duplicate my background layer. I will then hold down CTRL and click on the duplicated layer and turn it into a “Smart Object”. Afterwards, duplicate the smart object layer once more. You will know have 2 duplicated smart object layers of your original image.
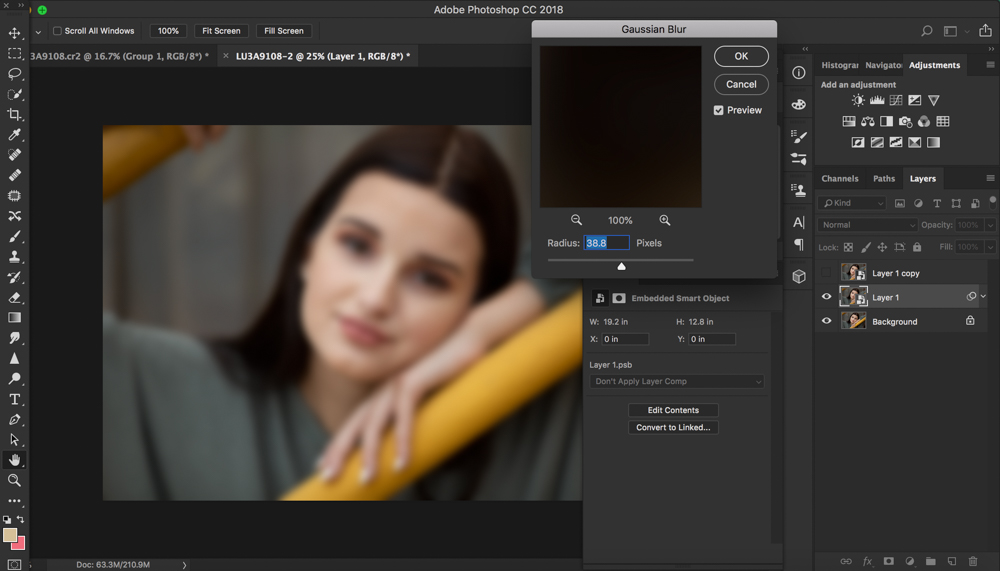
Now, you will turn off the top layer’s visibility, take the bottom layer and run it under a gaussian blur filter. You will increase the blur until the skin tone looks nice and smooth.
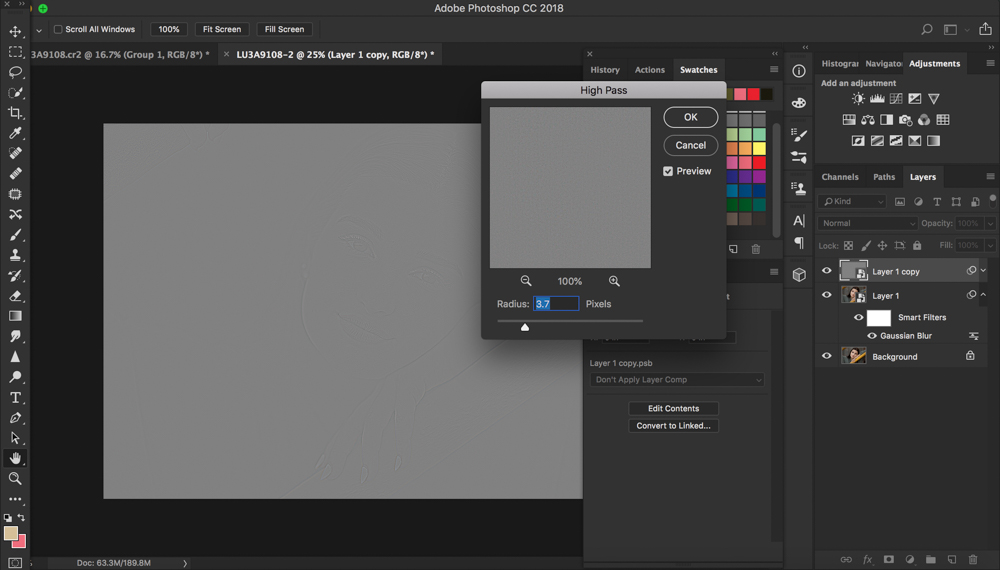
Afterwards, make visible the top layer again and run the layer with a high pass filter. You can do so by going to Filter- Other and then high pass. This layer will be your texture layer. You will need to increase the radius until you can JUST start seeing the textures of the lashes of the eye and the skin and then press enter. Afterwards, you will take the layer and place it under a “hard light” blending mode.
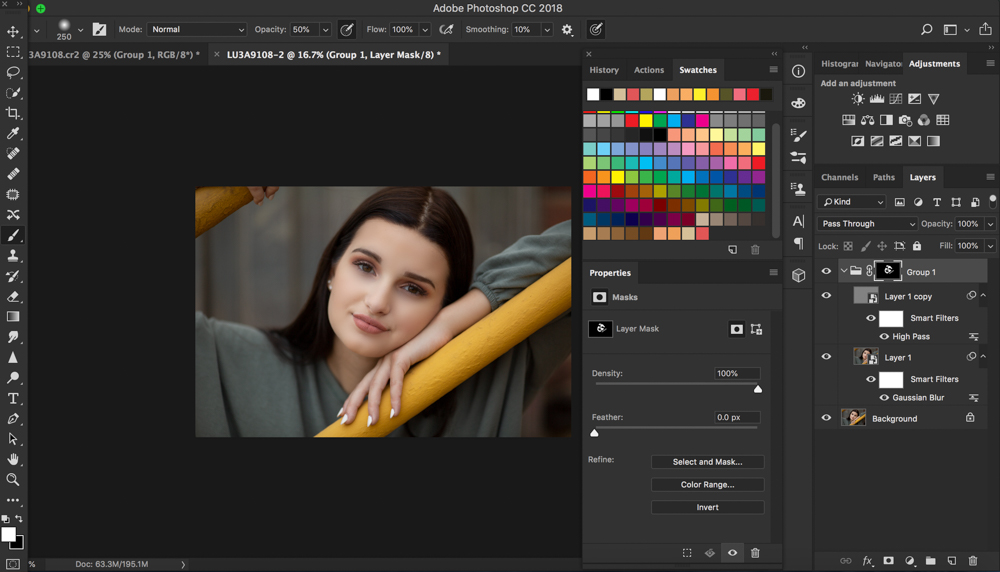
Now you will group the blur layer and the high pass layer together and place a mask over the entire group and invert the mask so that the effect is not visible until you brush it on with a white brush. Now to getting smooth skin! You will now brush the effect on your subject’s skin using a 100% opacity brush and 50% around the eyes and mouth. Avoid any features you don’t want blurry such as the eyes, nose, mouth and hair. If a part of the effect is too strong or too weak, you can go back to your smart object layers and increase or decrease accordingly. You can also decrease the overall effect of the smooth skin hack by decreasing the opacity of the group in its entirety.
Here is the video editing tutorial:
That’s it! This skin hack will save you lots of time in Photoshop and will take care of blemishes, scars and more in one simple swoop! Have fun <3
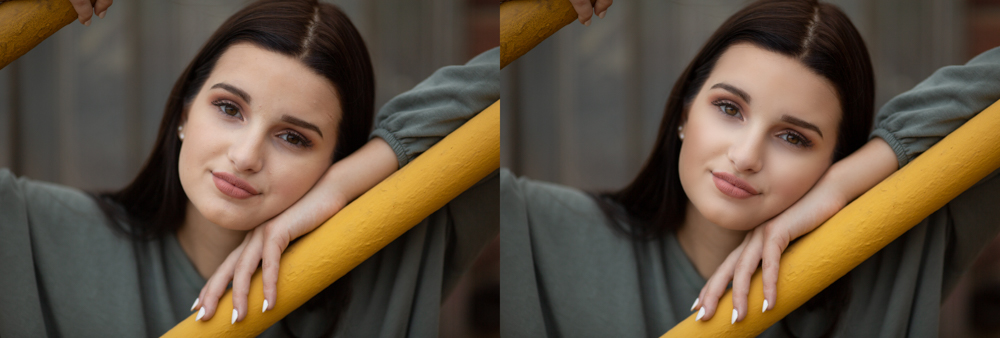
Here is the before and after (the after also has some final adjustments + dodging & burning):
We hope you enjoyed this tutorial!
You can see more plus get Photoshop Editing Skin actions, tools, and full editing workshops in the Summerana Membership here.

Beautiful, I have been searching for a skin retouching video for such a long time! I am happy I came across this video! It is so easy to follow and I love the simplicity!
Thank you so much!
I agree with Nancy. It is easy and quick. The results are fabulous .