
Putting together a photograph is often not as easy as it looks. When you become a professional photographer, or even a hobbyist, you can quickly discover that. One of the main areas that often eludes those who want to take their photography to the next level is composition.
Just like any discipline of art, composition is very important in photography. The use of your frame and the placement of things within it can make or break the image. Some say that the only rule of photography is that there are no rules – but in truth, being aware of the conventions of composition can allow you to decide which rules to follow and which to break.
Composition helps to draw the viewer through the image, giving them a clear path to focus on and helping bring your image to life. Here we are going to take a look at some of the top rules which help to make an image more engaging, give it a stronger look, and generally catch the eye of your viewer.
The rule of thirds
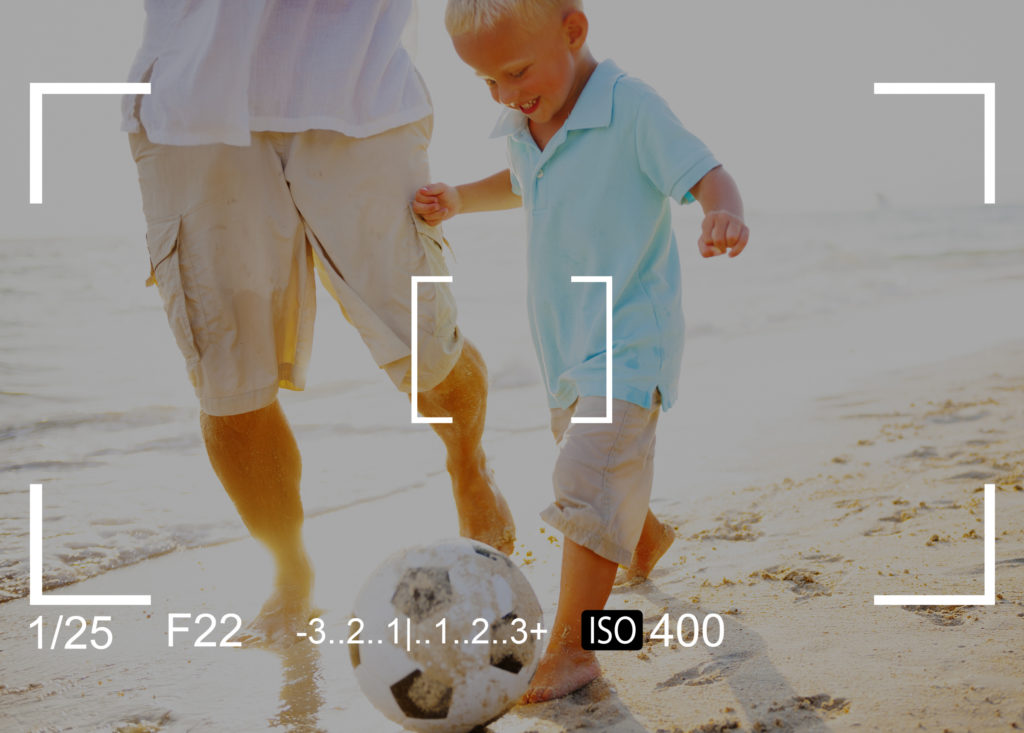
This is perhaps the best known and most classic rule of composition. The rule of thirds asks you to imagine a grid of nine sections over your image, with three lines across and three lines down, all equally spaced. Some image manipulation programs will allow you to view a grid on top of your image while you edit – you can do this in Photoshop very easily.
To balance an image correctly, you should aim to have your main focus or subject within these thirds. Generally, you can position it in the middle for a strong impact, or in one of the thirds to either side to create a certain impression. If you have a subject with lots of lines, such as an architectural shot, you can try to position these elements in line with the grid to give it a stronger effect.
The rule of thirds is perhaps the most popular rule in photography, as it can be very effective at creating a composition that works. This is not just photography by the numbers: you can use and manipulate the spaces as you wish to create an interesting and unusual composition which still sits very nicely to the human eye. Experimentation is key here to get the hang of things. After a while, you may be able to shoot with this rule in mind automatically. Some DSLRs will lay the grid over images on the back of your camera so that you can adjust as you go.
Balance/dead space
When you use the rule of thirds to create some more edgy shots, you may find yourself with a subject positioned far to the left or the right of the image. The rest of the space around them, where nothing is going on, is known as dead space.
You can choose to leave this space as it is, but it can leave the image feeling a bit empty or unbalanced. Finding another subject, albeit one which is in the distance and out of the range of focus, helps to make the image feel more even. It can also help the viewer to concentrate on your intended subject, rather than being drawn to the empty space. This can especially be a problem in images which do not feature humans or animals, as the eye is normally drawn to these – their absence can leave the viewer’s eye wandering around the frame.
On the other hand, you can abuse this rule to create a more graphic and outlandish image. Imagine using the deep blue sky and the edge of a wall to frame one subject off to one side. This could create a striking image precisely because of the empty space. It’s all down to how you use it!
Leading lines
A leading line is one which draws our eye towards a certain part of the frame, or from one side to the other. Leading lines give your viewer a way to look at the image and find a direction – rather than searching around for something of interest, they simply follow the line to where it takes them. You can use this technique to pull them across the whole image, or use it to point at your main subject and allow them to focus on it more.
The shape, size, and manner of the line is not as important as how and where it points. You can create lines by blocking out areas to make a triangular shape, thus providing a line which points in a certain direction. It is always more effective if you remember the rule of thirds while creating the leading lines, as this will key in to the way the human brain processes information.
Just about anything can be used to create a line. A road or river cutting across a landscape; architectural features; railings and poles; even a model’s outstretched arm or leg. If you enjoy combining elements of graphic design with your images, you can even overlay digital lines to jazz up a photograph in Photoshop.
Symmetry
As with many areas of photography, there are two ways to use symmetry: to include it in your image, or to purposefully ignore it.
Symmetry is pleasing to the eye, and this can make a very pleasant image. Many photographers in recent years have enjoyed using techniques such as mirroring the image of a model, but you can be more inventive too – how about using twin models? Symmetry can also be found more naturally in shots which do not include a human face. Architecture in particular is a very good source for symmetrical scenes, while nature sometimes also provides something that is symmetrical by coincidence.
If you want to subvert symmetry, the best way is to create something which appears symmetrical but is not. Let’s take the example of a house which has been built in such a way that each side of the house is mirrored, with a door in the middle and windows on both sides. This symmetry will look interesting within the frame, but you can also go one step further. If there was something on one windowsill but not the other, or placed on the ground to one side of the door, the symmetry would be thrown off. As a result, the eye will linger to try and spot the differences. More than that: the differences may even take on a deeper meaning, at least in the eye of the beholder.
You can also use the idea of subverting symmetry when looking at patterns. Patterns are present in nature, architecture, fabric, and many more fields that you could imagine. But if one of the iterations in the pattern is different to the others, you will have a much more interesting image.
Point of view
The point of view from which you take a photograph can hugely affect its composition, creating different effects dependent on what you are attempting to achieve. If you have never tried it before, here is an assignment for your next shoot: first take an image of your model at eye level. Then crouch down as low as you can go and angle the camera back up to their face. Finally, get yourself to a higher vantage point and point the camera down at them. In each image you will have achieved a different effect – and you will see that some are more flattering than others.
Use perspective also to create an image that complies with the other rules. You can get closer to something and angle upwards to it in order to create a leading line from the bottom of the photograph up towards the top. You can also use perspective to adhere to the rule of thirds.
Perspective can also add depth. Depth is the perceived space between the front of the frame and the back. Even though photography is two-dimensional, you can create the sense of three dimensions with this technique. It’s all about where you stand.
Having objects in the foreground, middle ground, and background of the image (another set of three!) will allow the eye to differentiate between these layers and create the impression of depth. You can also do this by layering items in front of one another. Consider a bottle of juice and an orange. If they are at different levels next to one another, it may not be apparent. But if the orange is partially obscured by the bottle, it is clear which is in front.
These rules of photography will help you to become better at your craft – first by learning them, and then by learning how to break them. If you have any rules which you love to stick to, please share them in the comments – as well as any examples you may have of times when you followed or did not follow a rule to strong effect.