
When you can’t go and see someone in person, how do you make a living as a photographer? This is a question on all of our minds at the moment, as we struggle to adjust to making a living without physical contact.
Not only is it important to continue making a living now, but there may be other times in the future when logistical problems mean you can’t go and see a client in person. For that reason, we’ve been having a think about a solution to distancing – and we’re looking at Facetime photography sessions as a strong solution.
Here’s everything you need to know about Facetime sessions, and how to get them started for your business.
What is a Facetime photography session?
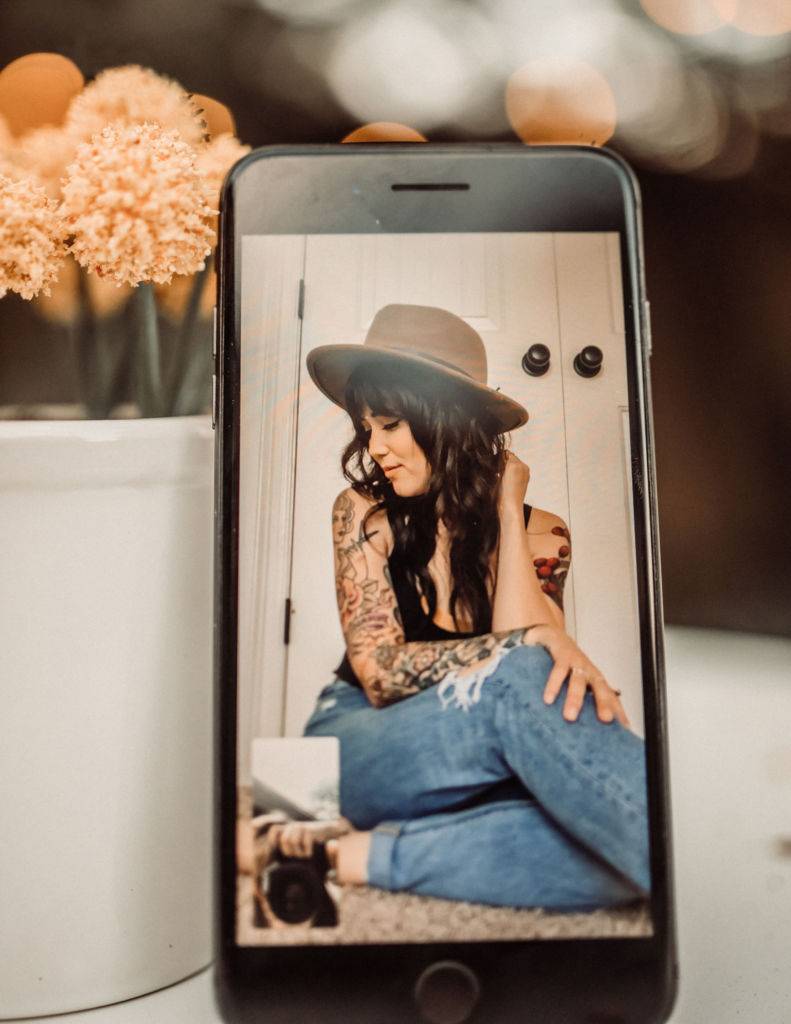
Let’s start with the basics. Some people are already calling this a ‘screenshoot’, where you take photos through your screen instead of with a camera. You will both need to have a good quality smartphone camera, and (if you’re using Facetime) they will need to be iPhones. Of course, if you can’t use iPhone software, there are other options on the market for video calling.
The idea is that you, the photographer, ask your client to set up their phone on a tripod (or any surface that will work to hold it in place – you can also get cheap phone holders for around $5 on Amazon that will keep the phone in an upright position). Then you direct them in terms of their poses, and use your phone’s screenshot function to take snaps of the session. These images can then be downloaded onto your computer for editing as you normally would.
How do you set up a Facetime photography session?
Now we know what we’re doing, let’s figure out how we need to set it up. There are multiple stages that you need to follow in order to set up your session, in this order:
- Book the session with your client. Allow them to choose a time and date as normal, allocate a certain timeframe to the shoot, and follow up to check that they have the necessary equipment. You may even ask them to do a test Facetime at the time of booking just to check their phone and camera are up to scratch.
- Create a moodboard. You can do this as you normally would if it’s part of your normal process! If you don’t normally work with moodboards, here’s why you need to: your client has to know how to set up the room, dress themselves, do their hair and makeup, and pose. A good idea is to get actual images of the space they will be using and some selections from their wardrobe so that you can incorporate these into your moodboard. Include examples of poses as well so they have some inspiration on hand at all times, and let them know if you’d like any props.
- Share and discuss the moodboard. Ensure that your client knows what you are expecting to see when you begin the session – it’s better if they set up the space and get themselves ready before you begin. Be ready to change and tweak some of your ideas due to the availability of props and your client’s level of comfort with your suggestions.
- Pay special attention to lighting. They should be booked in at a time of day when natural light is strong and you’ll want them to pose in a room where the lighting does not cause harsh shadows. Most clients won’t know anything about lighting, so it’s your job to educate them here – you could even ask them to walk around during the booking session to compare lighting in different parts of their house.
- During the session, be sure to direct them with your words and be very clear. They may not be able to see your face while they pose! You don’t want any confusion, and you’ll need to be patient in case of jittery internet connections, problems with communication, and their lack of experience meaning things don’t come out how you intended.
- After the session, use Photoshop and Lightroom to edit as you normally would. For a bonus idea, you can use our Summerana actions and overlay collections to create fantastical worlds which have nothing at all to do with the interior of your client’s home – put them in a meadow on a sunny day, fill their room with exotic animals, do whatever you like to make it feel magical for them!
How to book Facetime sessions
As we’ve noted above, there are several considerations that are going to be important for these virtual shoots. We recommend setting up a brand new booking portal or option to make sure that your clients are aware of the following things:
- The right time of day for the shoot
- The required space and light in their home
- The requirements for tech, e.g. camera type, tripod, video calling app
- That the results will not be as clear or possible to be printed as large as the photographs you would take in a normal camera session
If you can get them to understand all of this while they book, it will make the whole process much smoother. You don’t want clients angry that their images aren’t as good as they expected, or not able to work the technology on the day of their booking.
It’s a lot to think about for you, so imagine how it might be for them! Give as much information as you can to help them through the process, but try to keep it simple, too – a three-page instruction manual might be a bit off-putting!
It’s certainly going to be tough to make it work, but we’ve already seen plenty of examples of photographers who are making a good trade through Facetime sessions. Adapting to the times is incredibly important for businesses, so make sure that your photography brand survives this time by turning to Facetime as an option!